
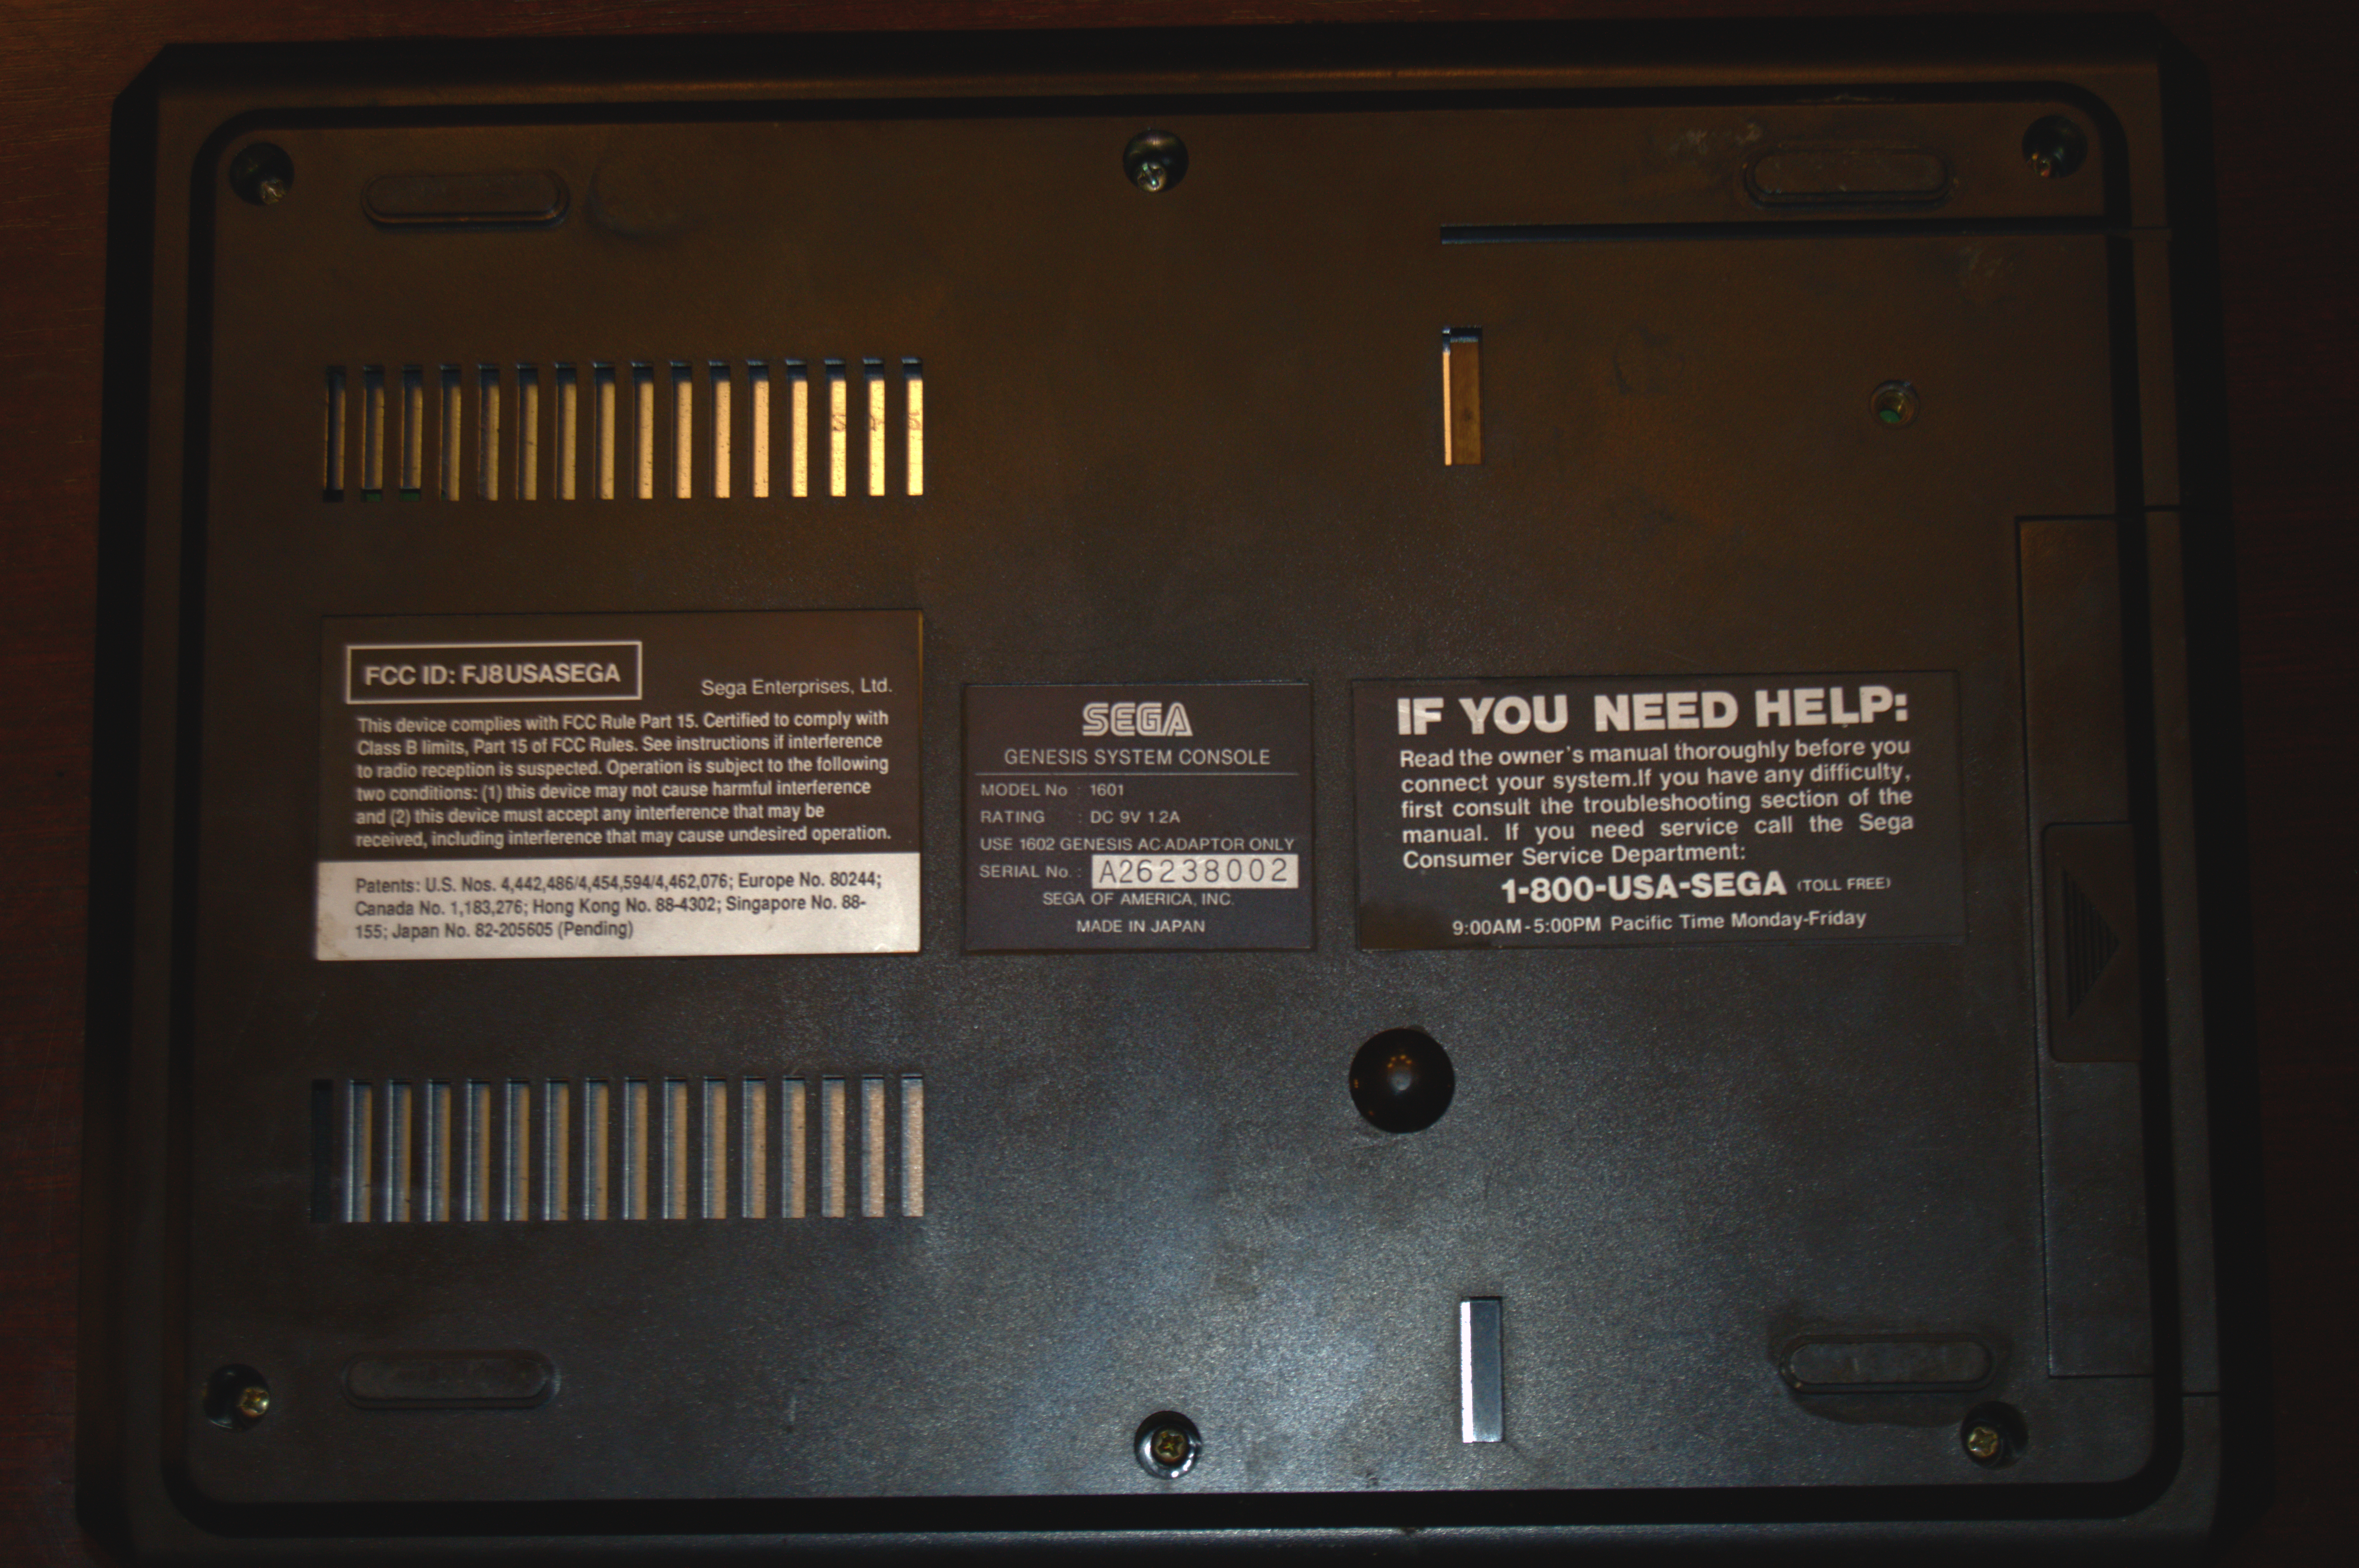
Is a Sega Genesis dishwasher safe? Of course not, but how about the case? A friend of mine was doing some storage space cleaning and found this forgotten gem. He offered it to me as a gift.

That bad boy could be a great portal to a segment of video game history. TONS of great games came out during the 90’s for Sega. But in its current condition, this one looks like crap next to my other entertainment center components.
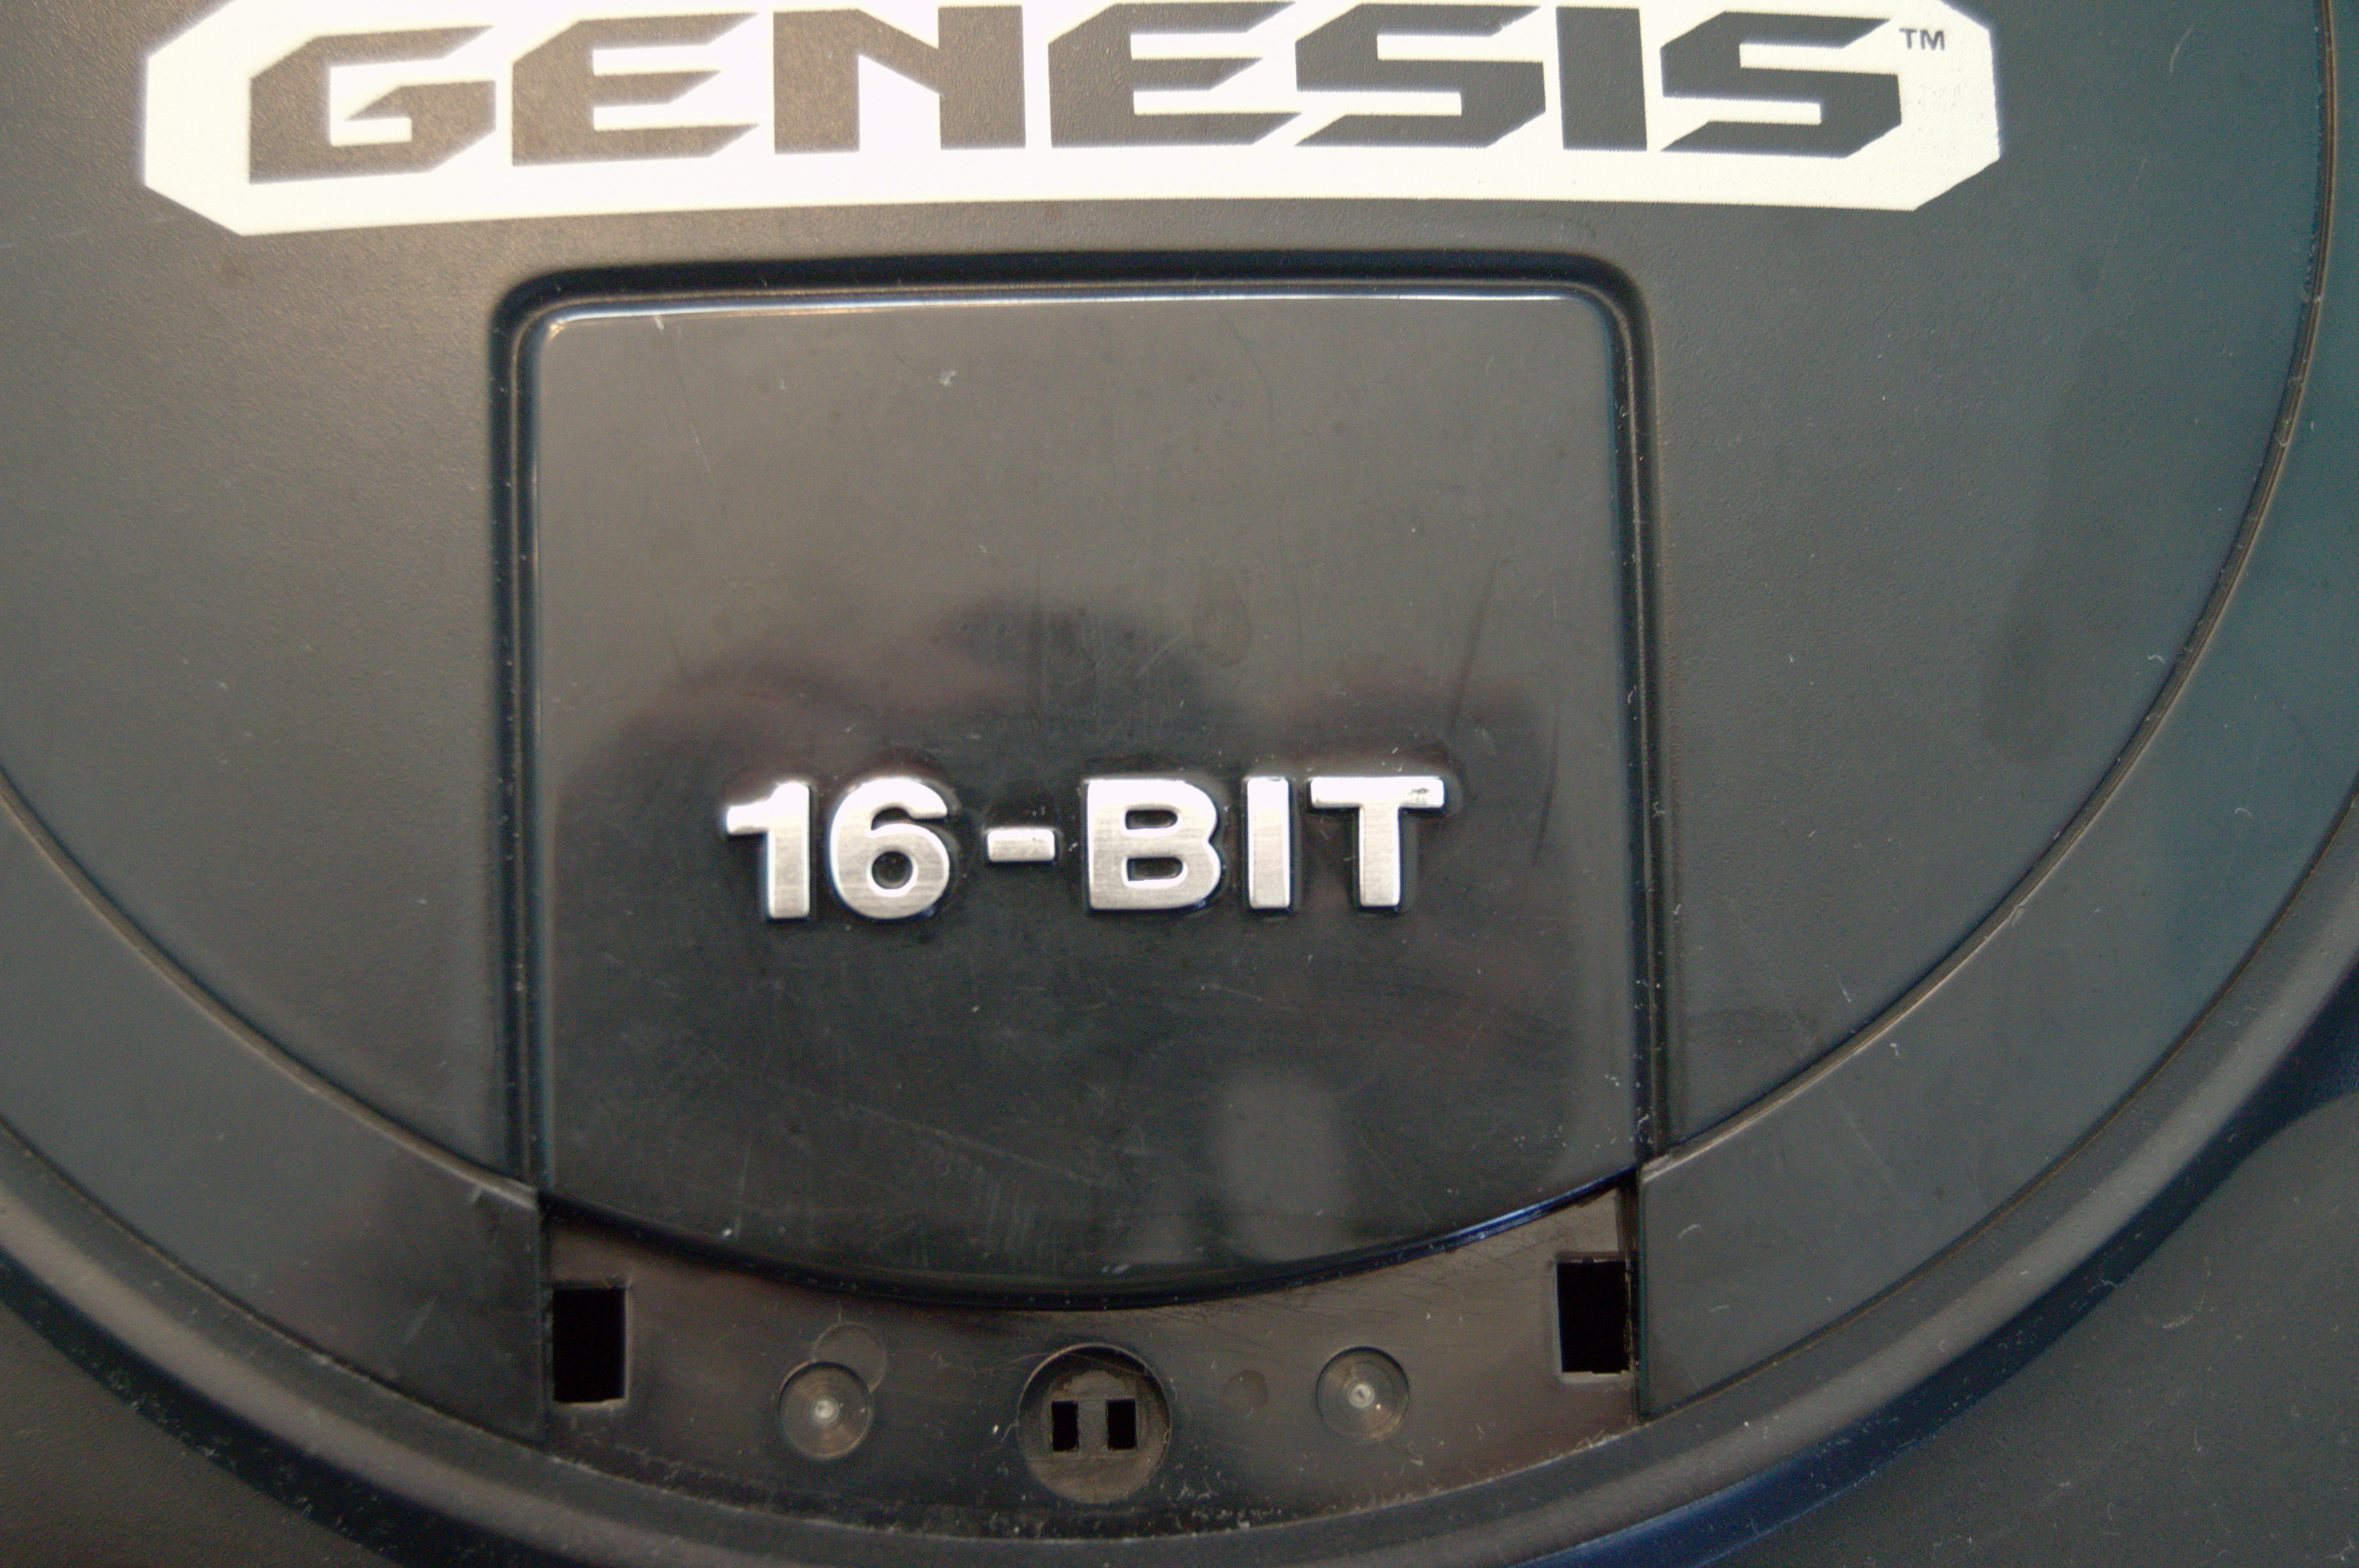
Every stylized groove on the case lid is covered in ancient finger spunk. And then there’s the switch…the fuck!?


I have washed Sega Genesis Model 1 systems before by hand using hot soapy water. The results are always disappointing. Soaking the components and scrubbing every nook and cranny can be really time consuming. The more time I spend cleaning my systems, means the less time I have to play my systems. So since I received this baby for free, I am going to use it as a test subject.
First, we need to disassemble the system, so that we can protect and clean the circuit board separately.
Next, we need to unscrew the circuit board from the bottom of the case.
Click the photos for a close up of screw placement

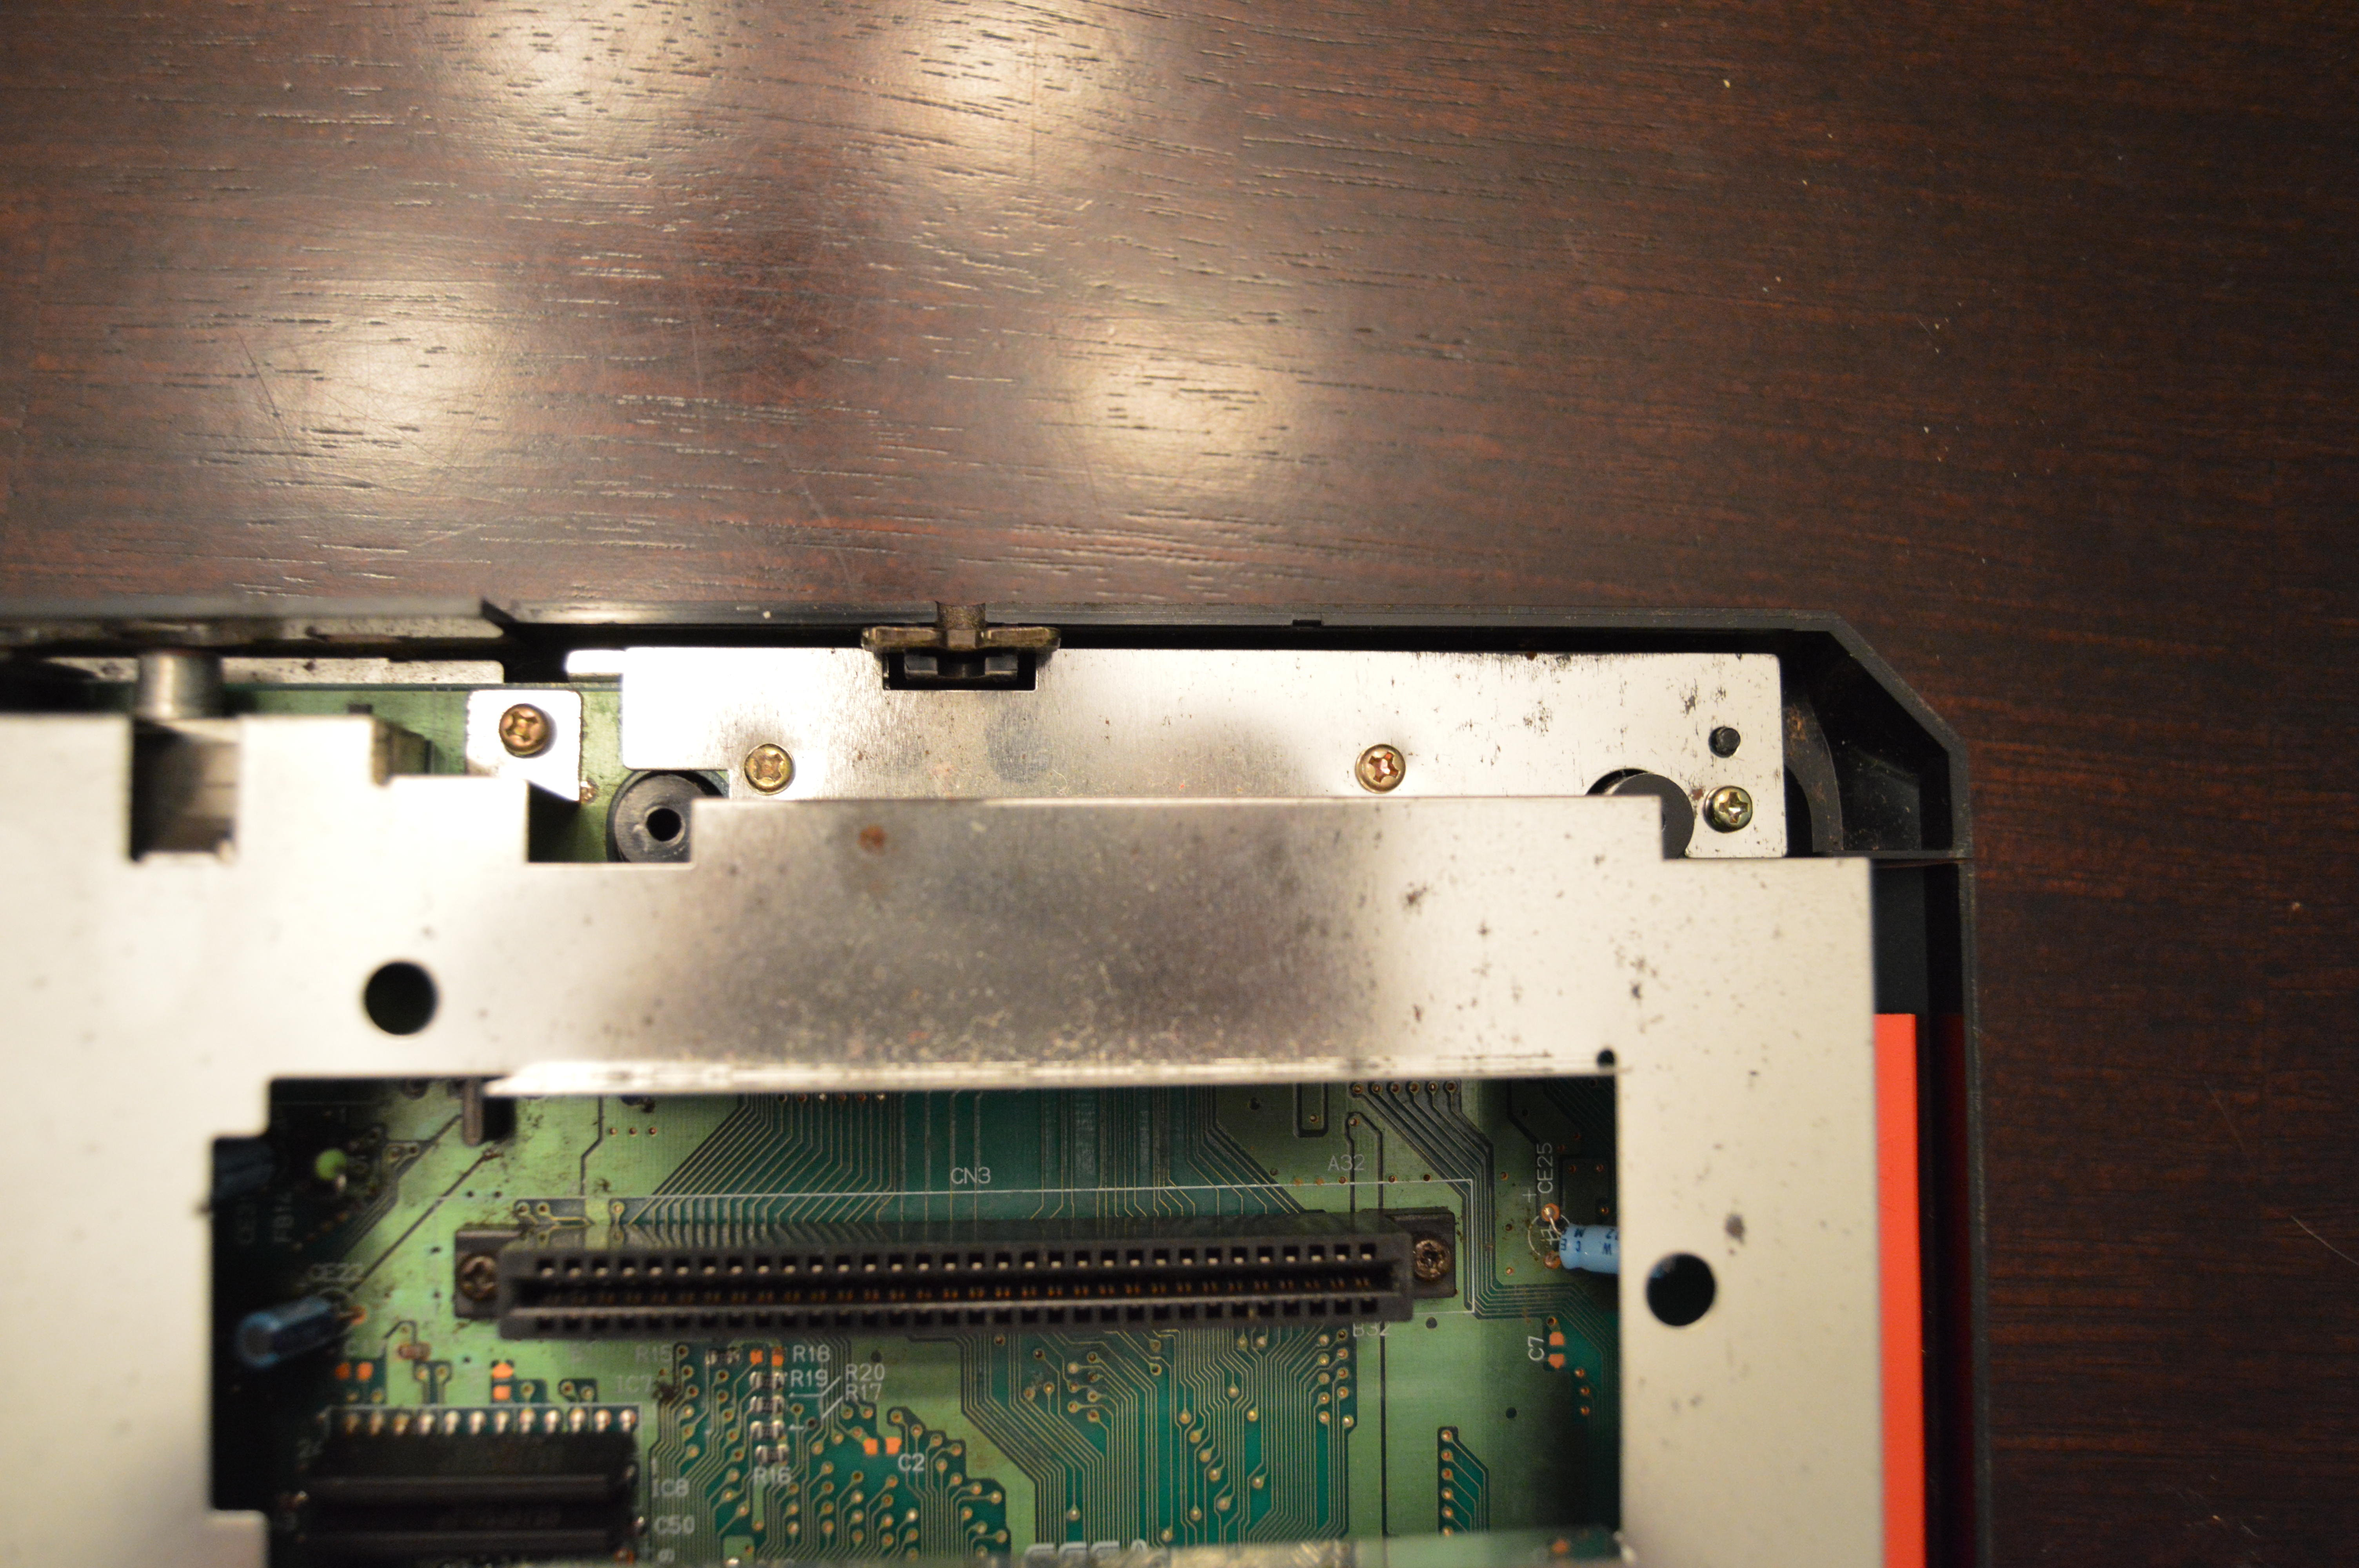

The board is sandwiched between 2 EMI(Electromagnetic interference) plates. These are supposed to prevent the Sega from interfering with other electrical devices. The EMI plates will occasionally have a little rusting, but can usually be simply wiped down to remove any debris or dust. Many people ask if the plates are necessary. It is really a matter of preference. If your goal is to keep your systems with stock components you absolutely want to re-install these plates, but if you are modding or tinkering, the system will operate just fine without them. Just know that nearby electrical components could, theoretically, have interference issues. And if you are not going to reinstall the plates, I always recommend holding onto them, putting them on ebay, or giving them to a collector. Remember, once a device is no longer in production it will one day become rare and by default valuable.
Once all of the corner screws are removed the board will still be anchored to the case with the 2 black screws that go through the cartridge connector.

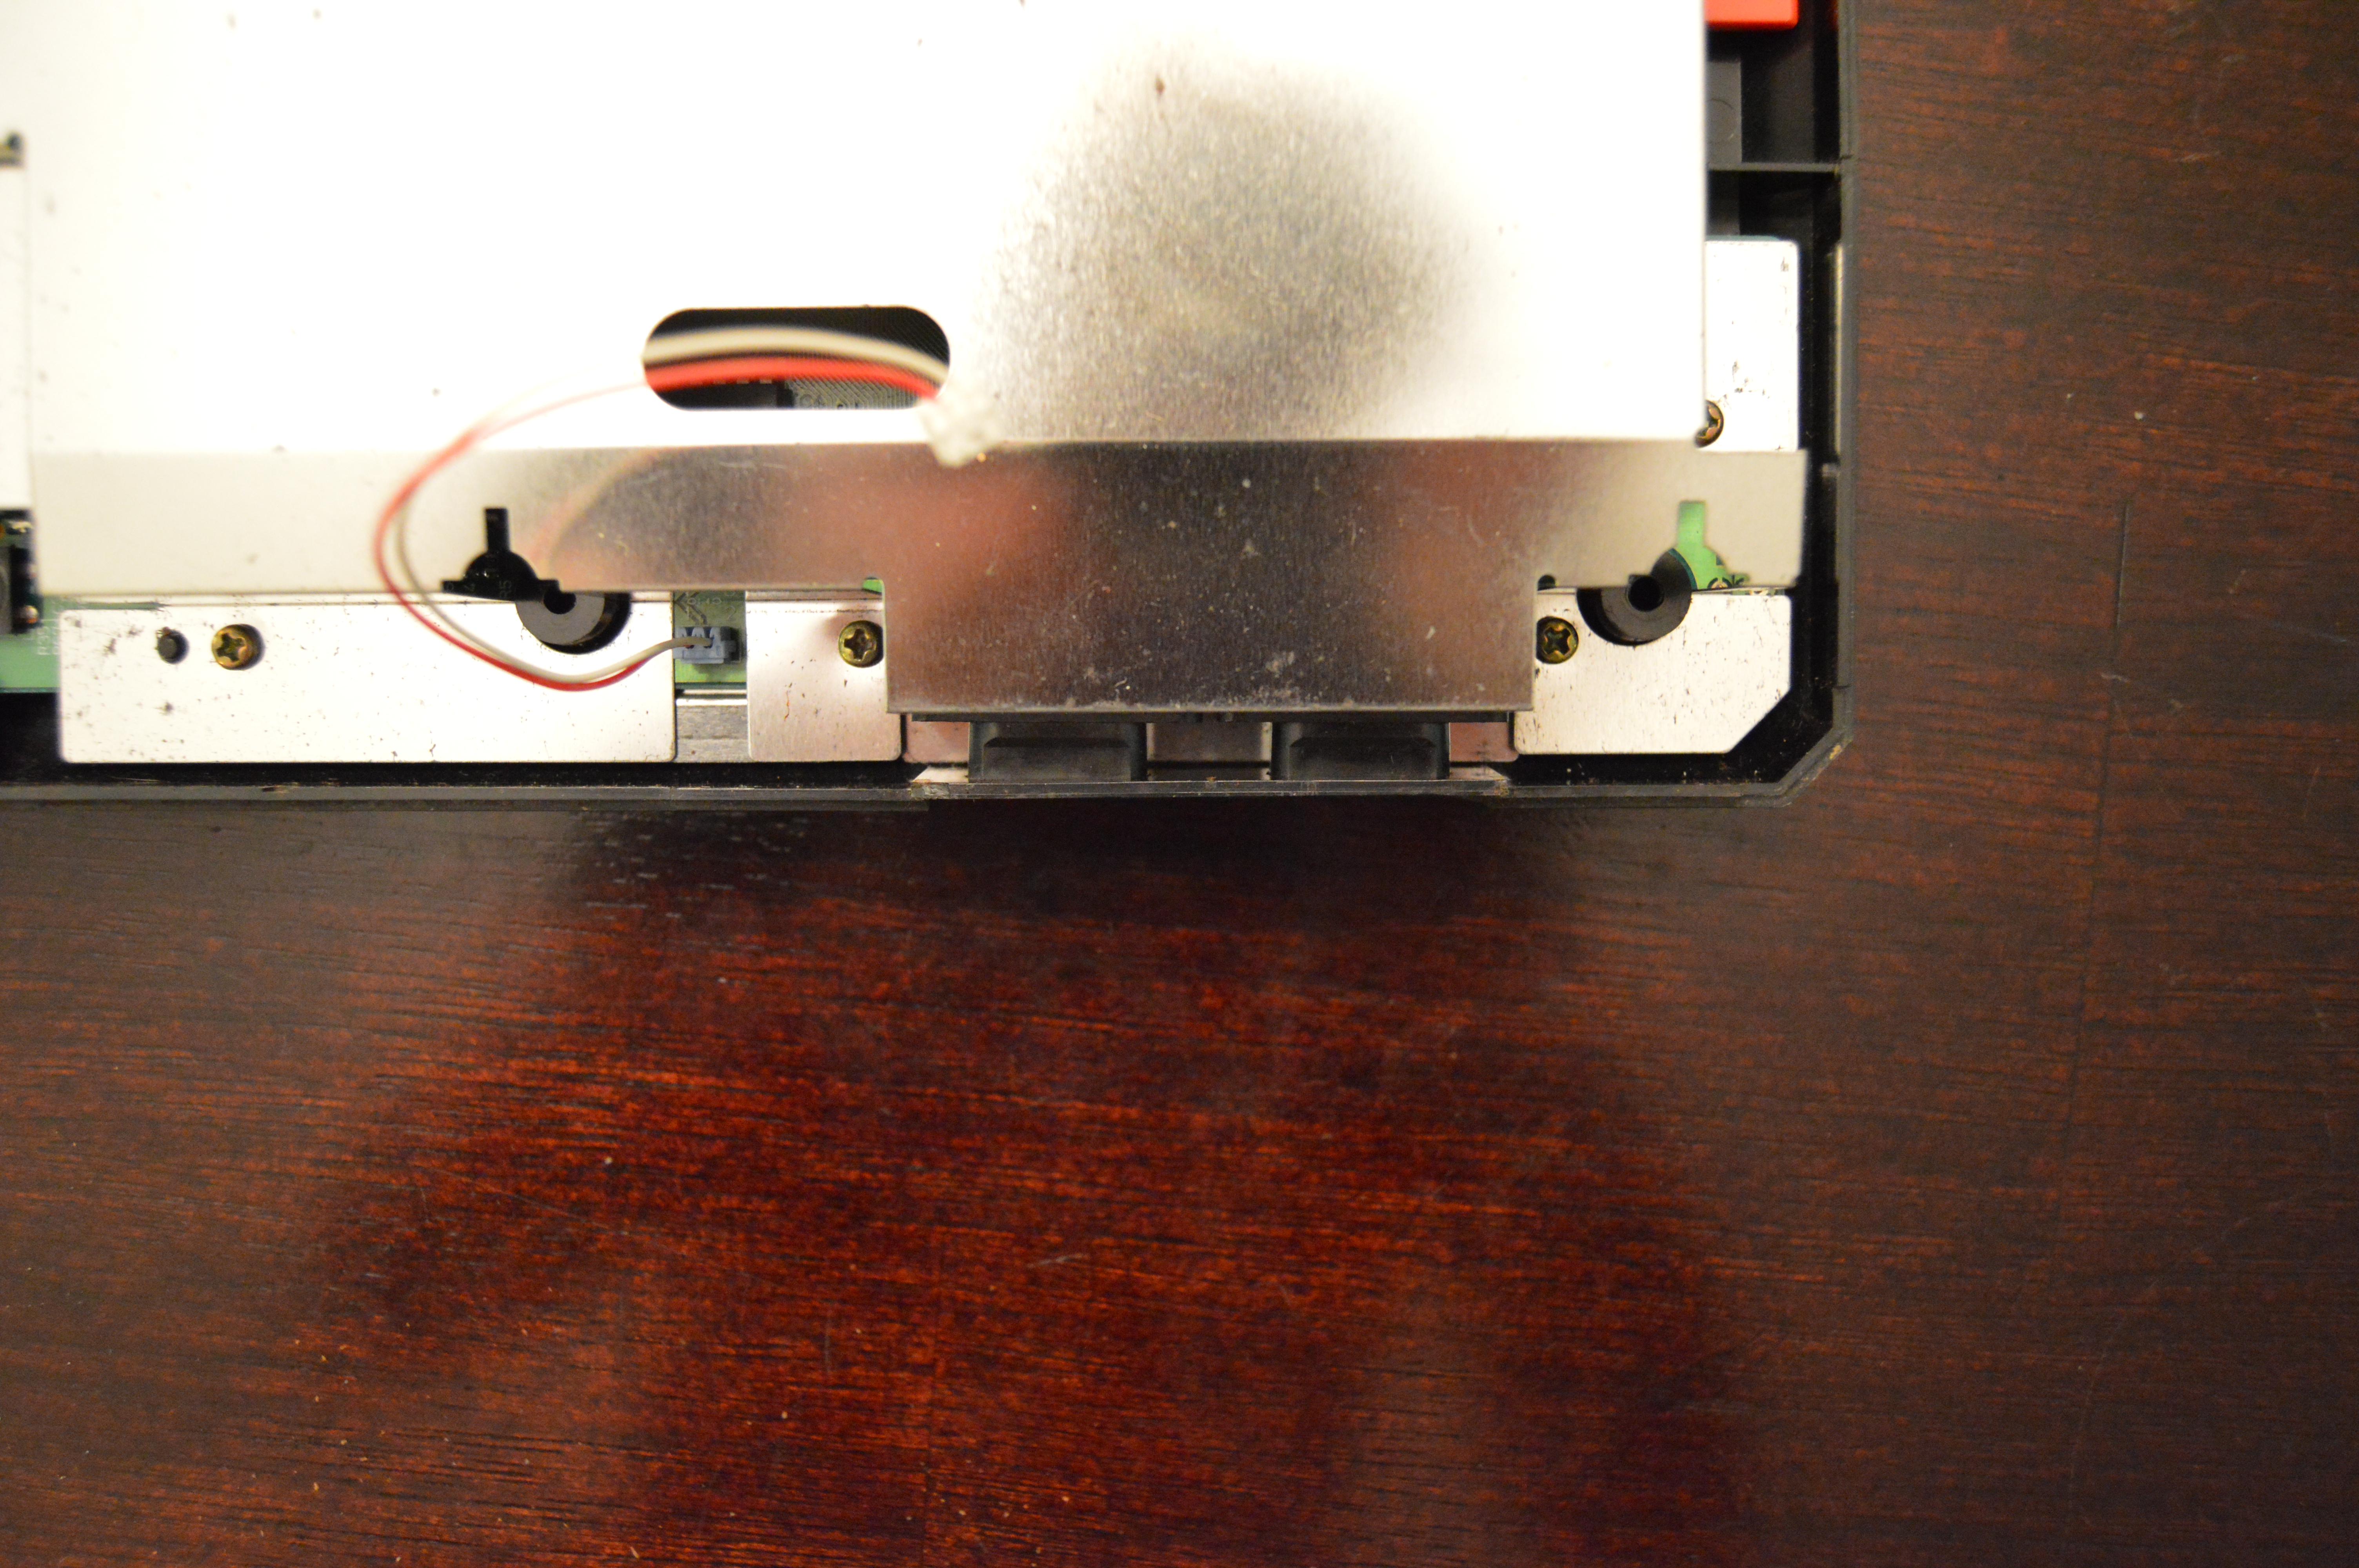
After the board has been removed take special note of the little “M” clip.


It is now time to disassemble the case lid.
Click the photos for close-up action


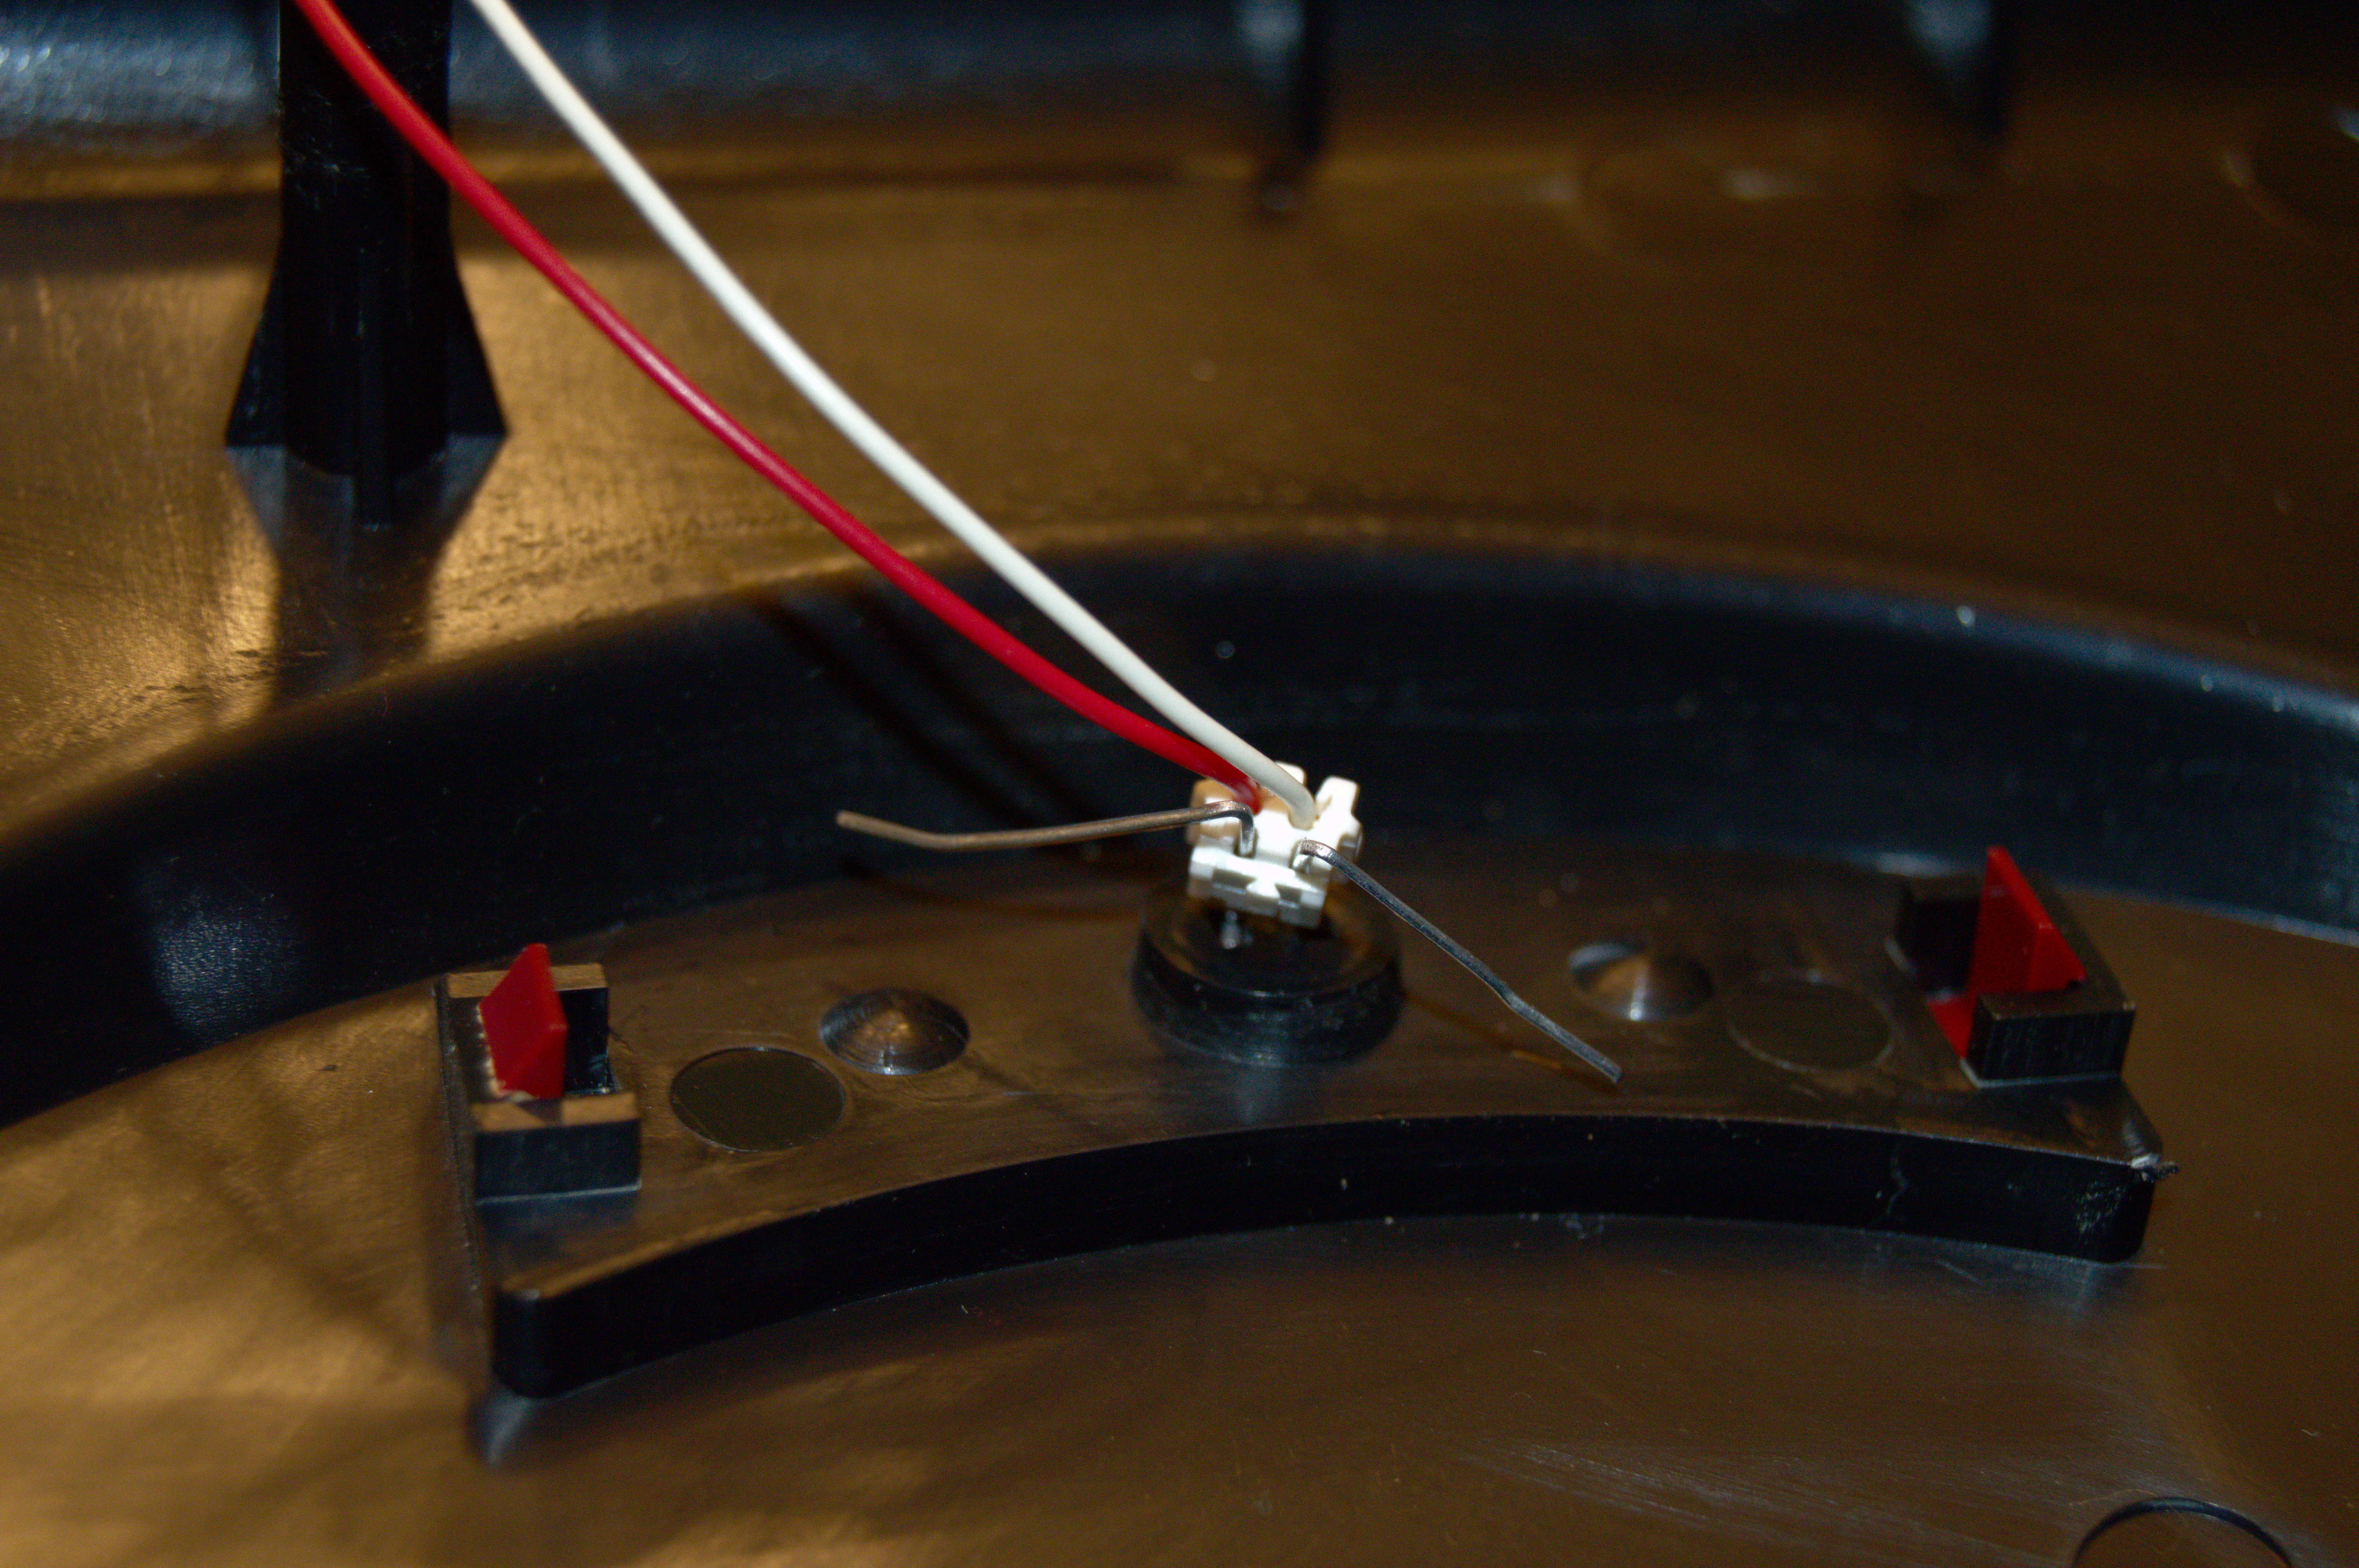
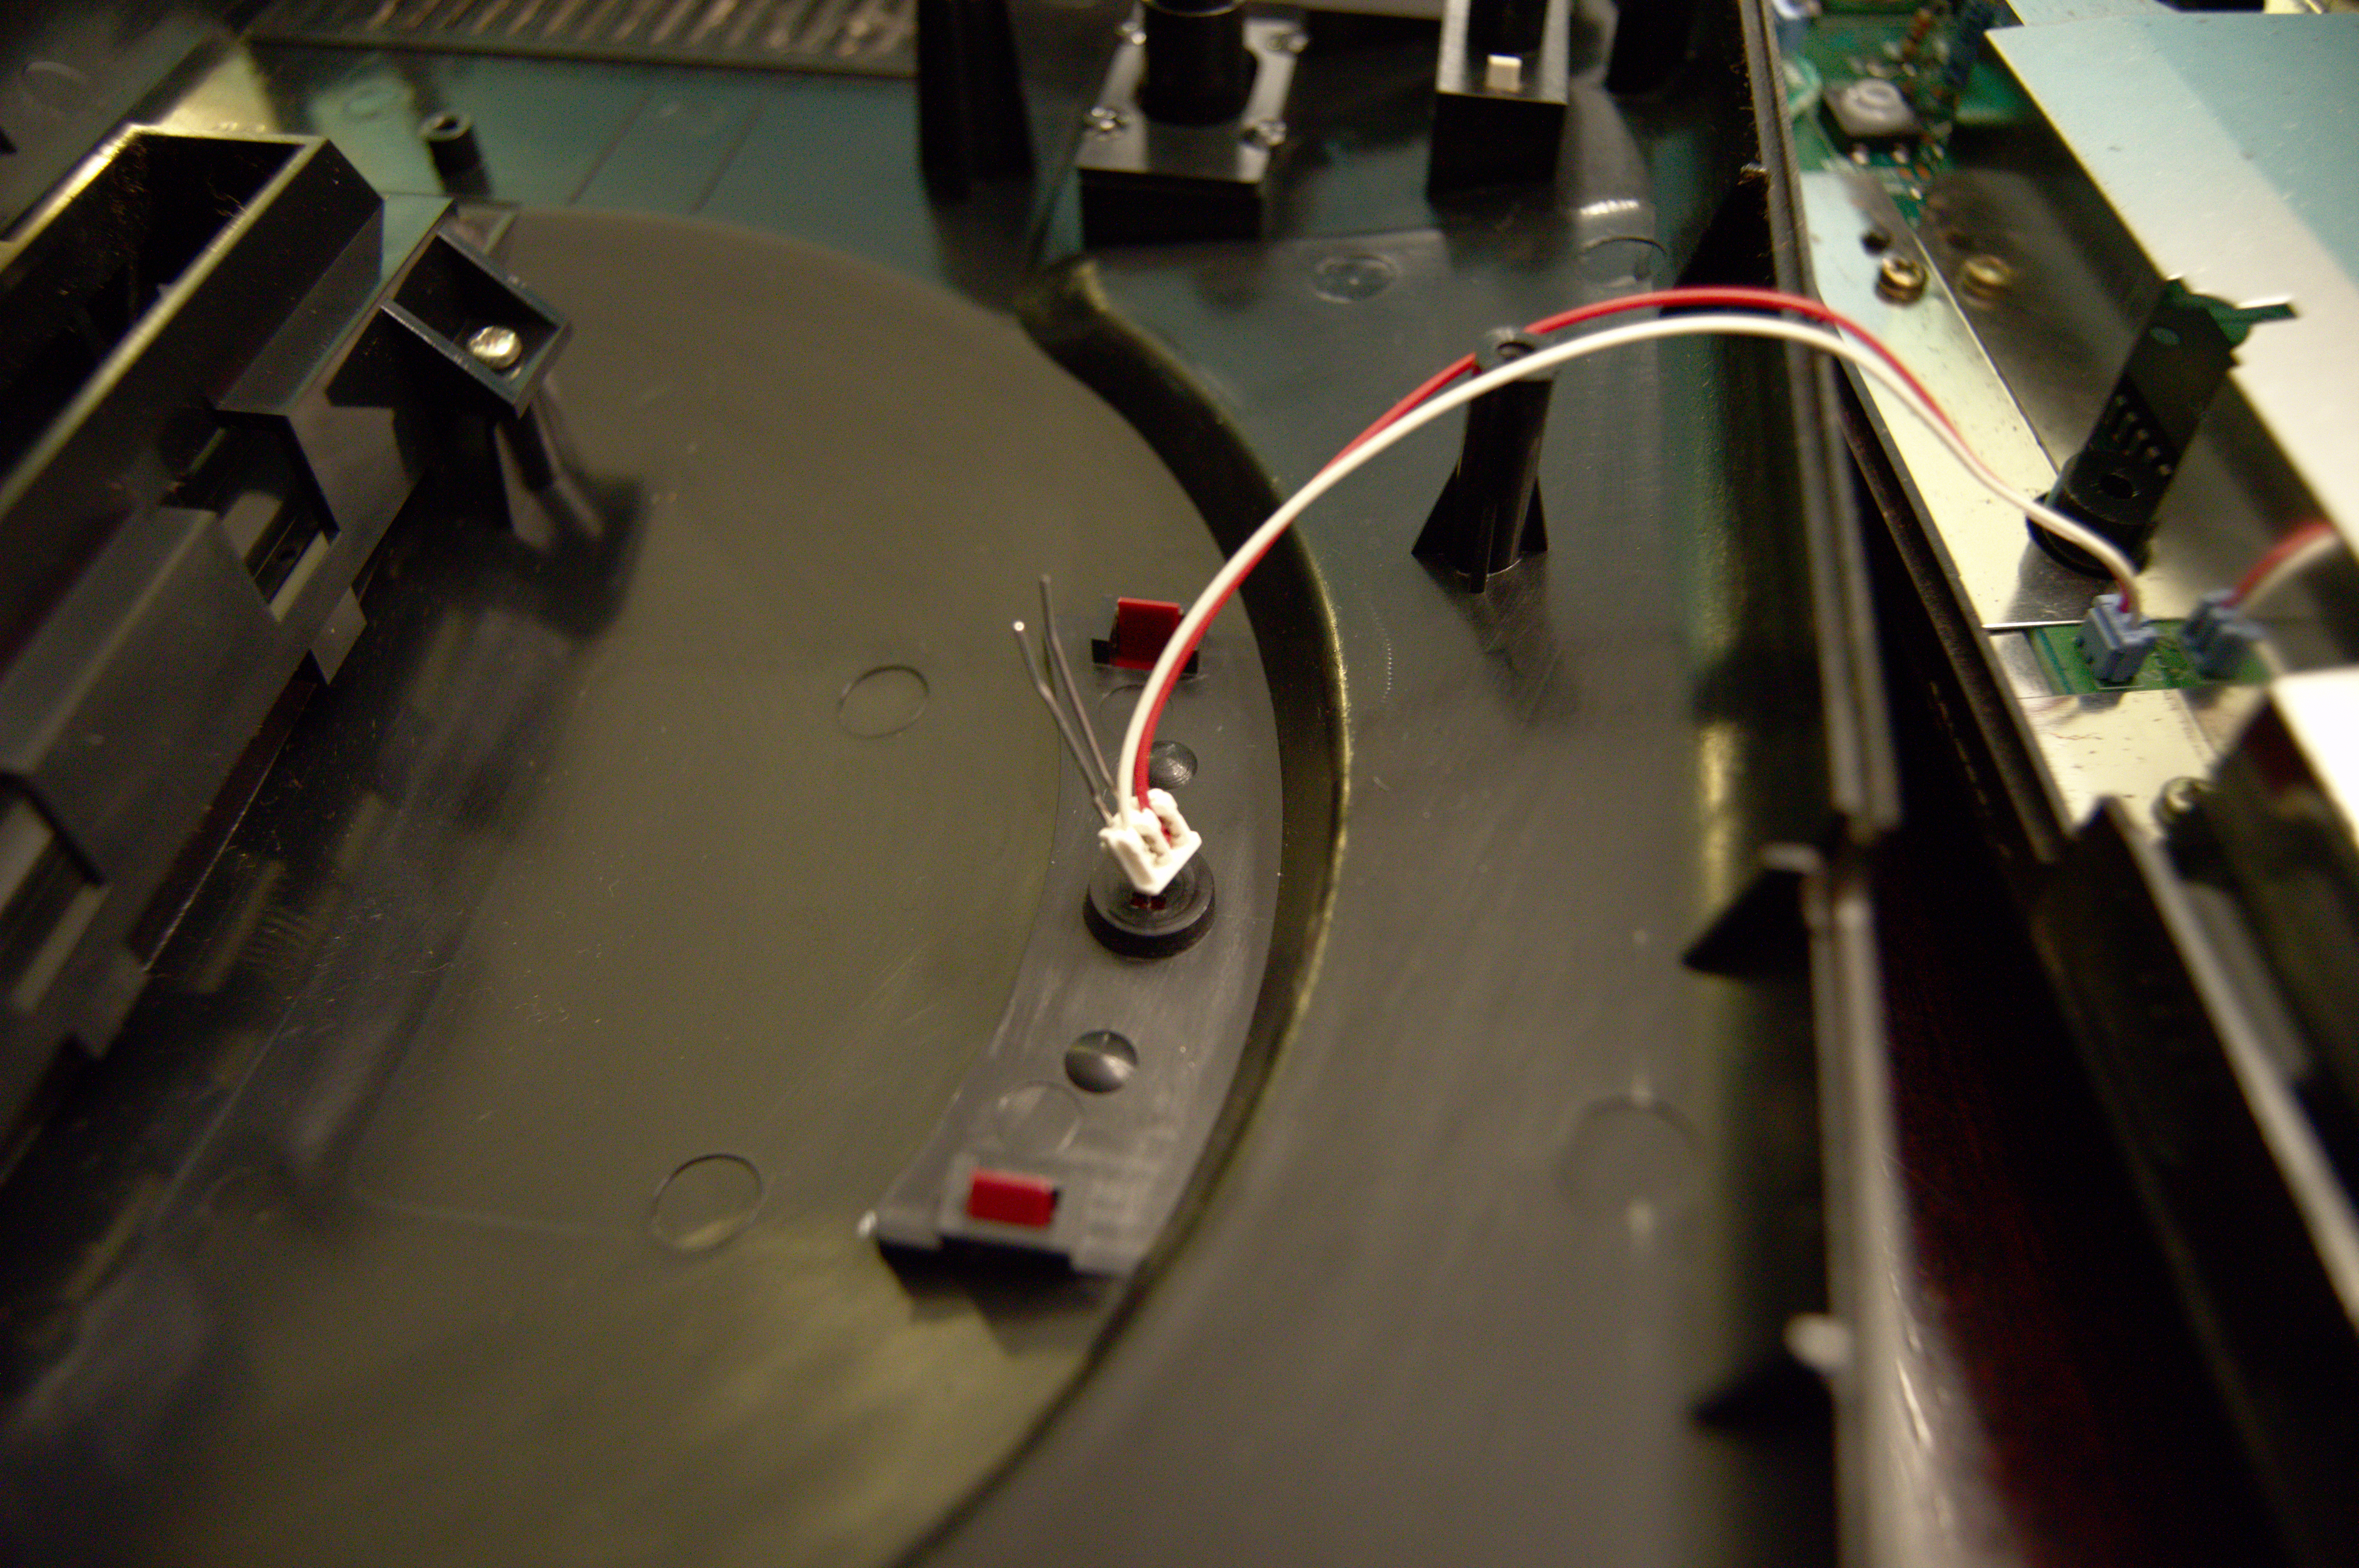
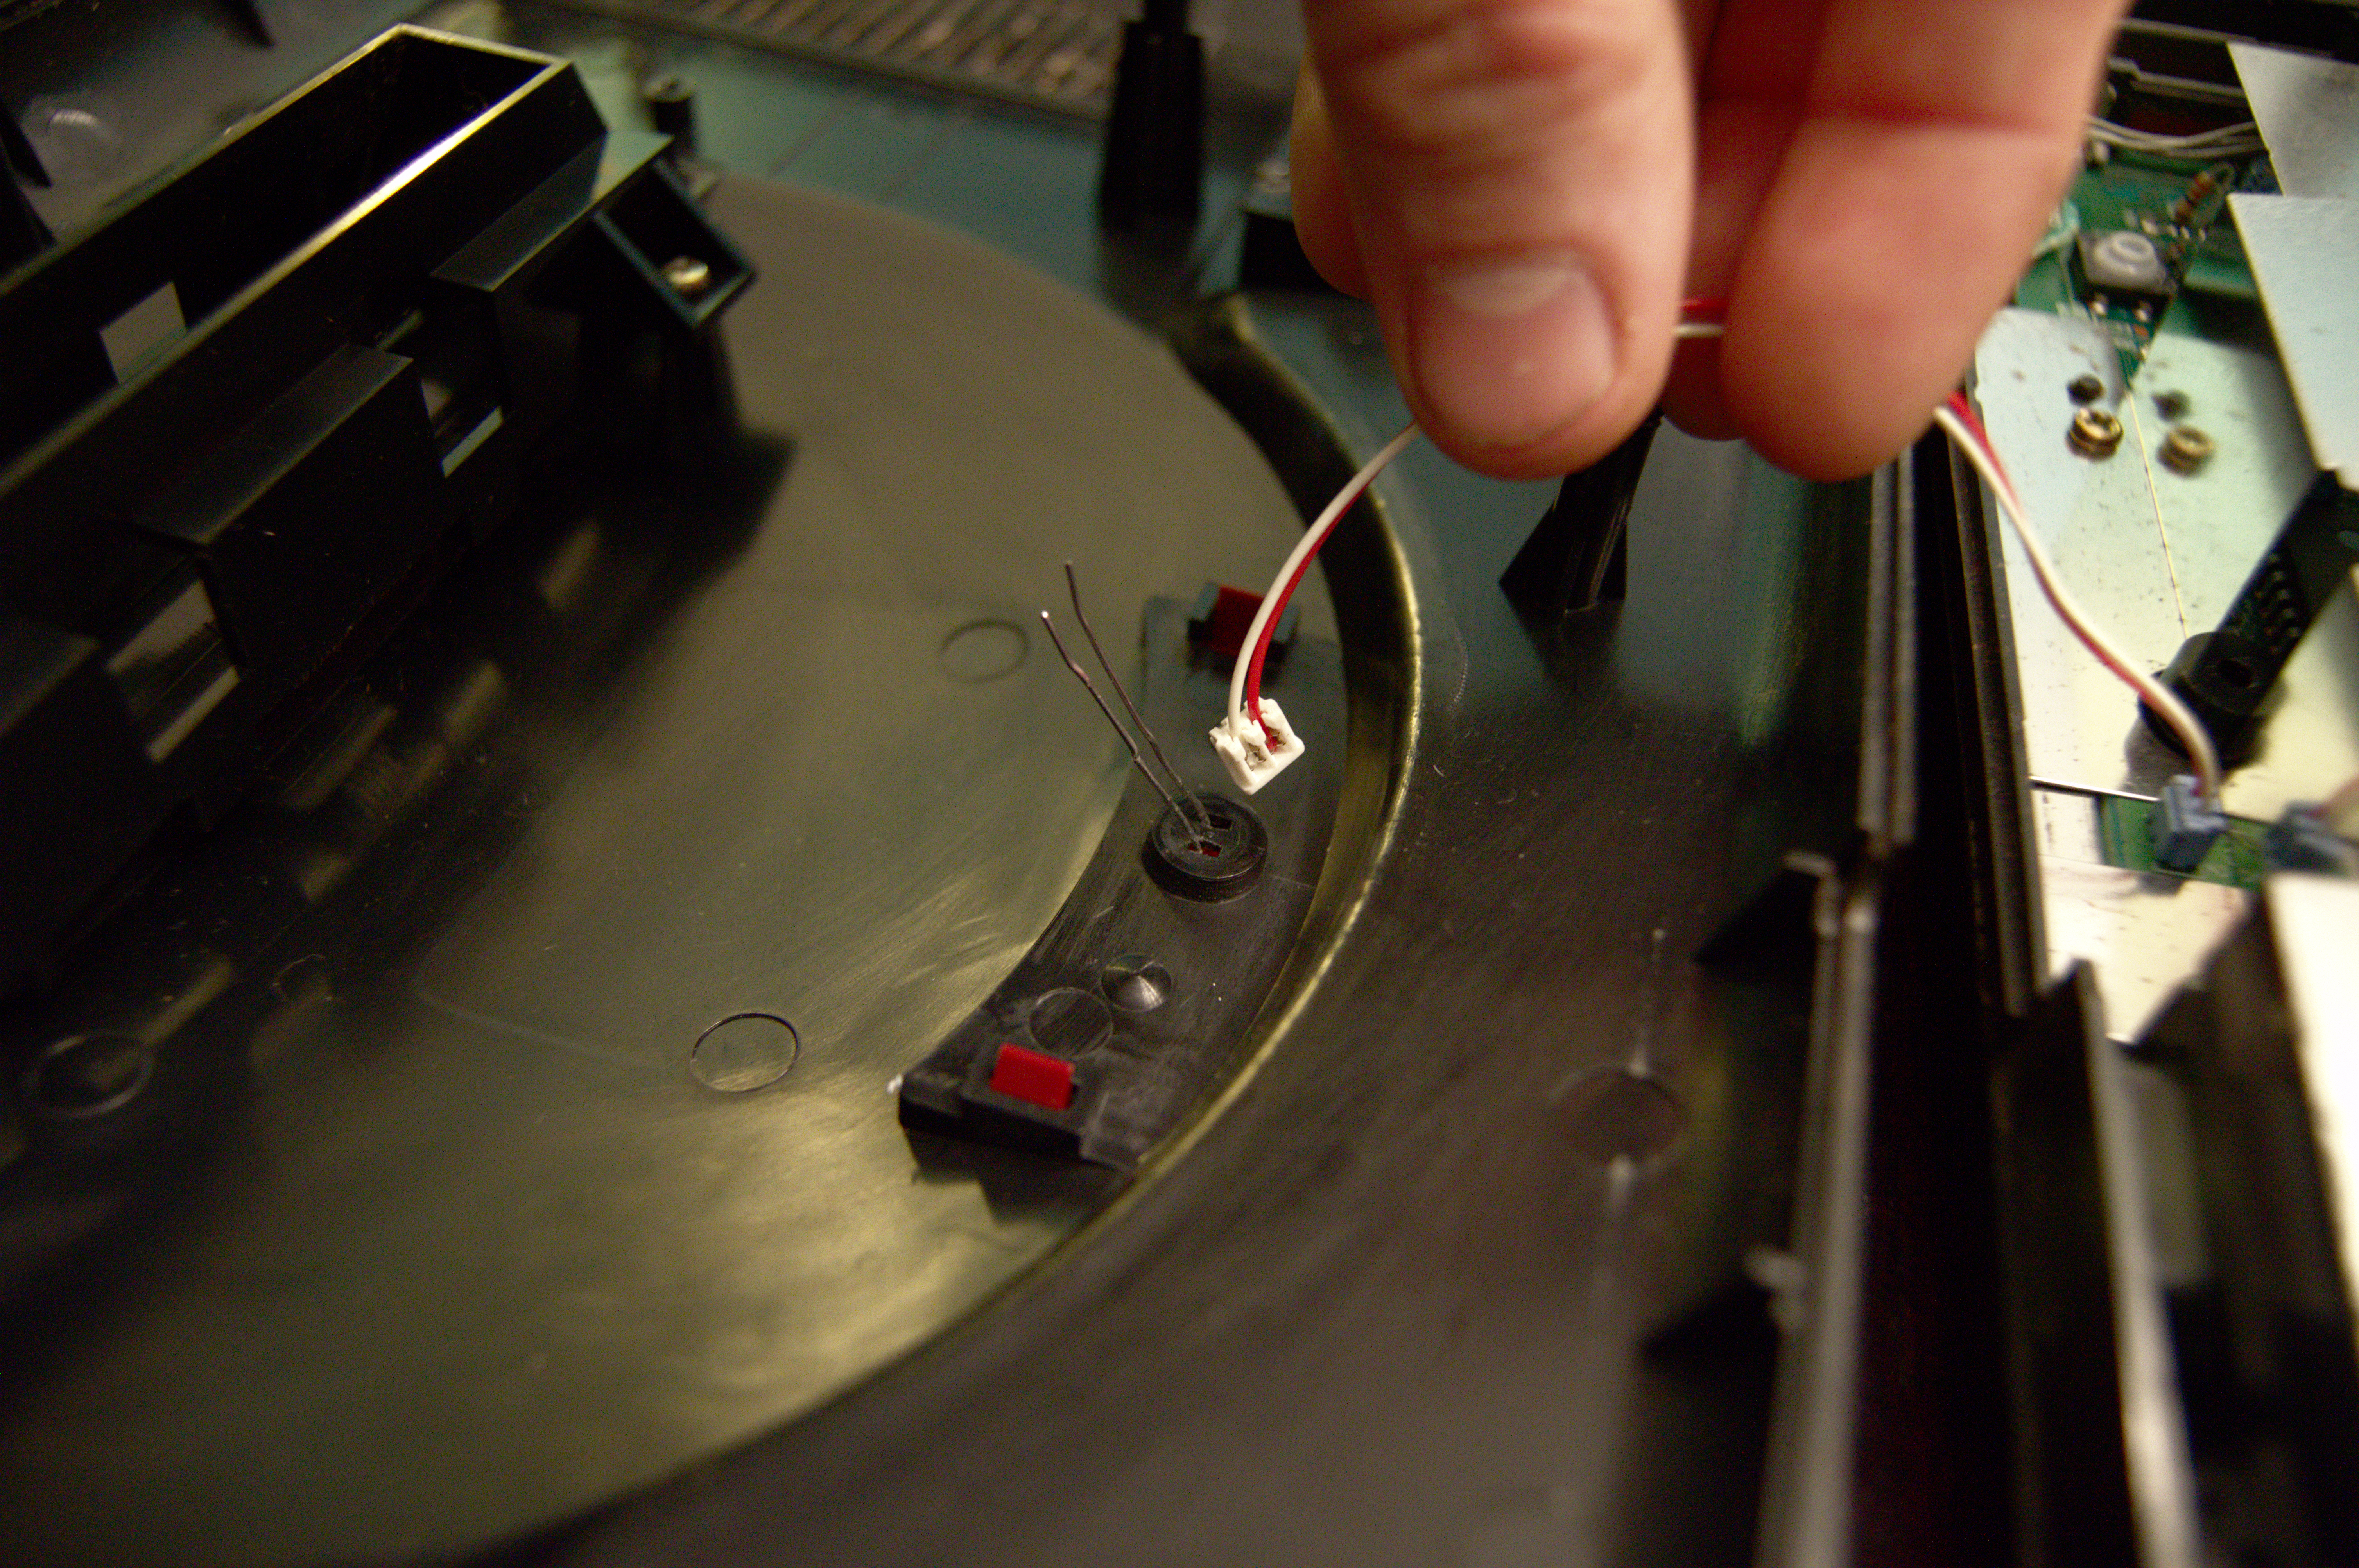
Looking for a quick and easy mod? Now is a great time to swap out that LED with whatever color fits your fancy. Pick a color that goes with the room you will be keeping the system in. Ladies love that kind of shit. Err..I mean, it will be bad ass.
Bathtime!


I had to use a spoon and a shot glass to weigh down the flappy door and LED cover. Yeah, I know the flappy door piece feels fragile, but this is an experiment. If it comes apart, that will be info to use for next time.
The dishwasher is a standard model. Kind of a crapper actually, but it gets the job done.

I have some other plastic storage containers on the top shelf to clean at the same time. Might as well not run an empty load, but I would probably not use many food containers because, I don’t know about that gunk. Kind of nasty…

As I mentioned before, you can save yourself some time by cleaning up the circuit board as the washer runs. When the dishwasher is done running you can take the pieces out and hand dry them. Do not reassemble any part of the system while still drying. Take the time to get every last drip of water.
The Results:


As you can see, the dishwasher was a great success. I have never gotten such quality results by hand cleaning, even after a long soak. Obviously, they are left looking a bit dull. Fortunately, the solution is simple.

A little bit of Pledge goes a long way.
Just spray a little bit of pledge onto a dry paper towel and evenly rub down the system. Using too much can give a greasy feel, so start off light. Take as much time as you’d like on this step. It all depends on the final product you are trying to create.


Now reassembly is basically the reverse process we went through above. Just a few things to note.
Don’t go Hulk on the screws. Just a light twist of the screw driver is important to maintain the integrity of the case mounting holes. It is easy to strip out holes on a dinosaur system like this. Just start them off softly and let the threads of the screw find their way into the threaded hole. And don’t forget to tighten down the 2 black cartridge connector screws. I would say those 2 screws are the most important. Also, when reconnecting the LED the longer prong (the anode) goes with the red wire. An LED will not work if connected backwards.
